Please reference this support article to learn how to setup and schedule camps on DSR.
IMPORTANT NOTES:
Must have a Season and Level created first before creating individual camps and schedules.
Hierarchy in Daysmart is:
- Season (Example: Camps - Spring - 2023
- Level (Example: Kids Soccer Camps 4-8 Years Old)
- Class (Example: Kids Soccer Camp - Spring Break)
- Schedule of each camp - specific days and times
Creating a Camp Season
The Season is the top tier of the program hierarchy. Within the Season there will be Levels. The Levels will contain the groups of Camps, like Half Day, Full Day and After Care Camp. Within the Levels there will be the specific Camps classes. The Season settings control options for online registration, deposits, required memberships and Season reporting.
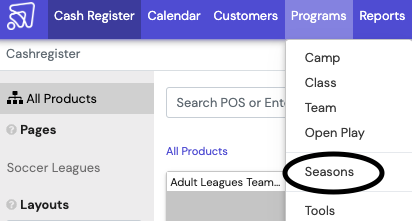
- Once logged into DSR, using the Global Header, mouse over programs, click on Programs, then select Seasons.
-
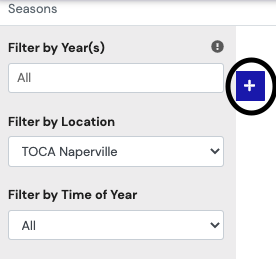
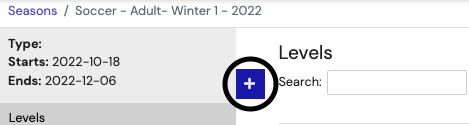
- To create a season, select the + in the top-left corner.
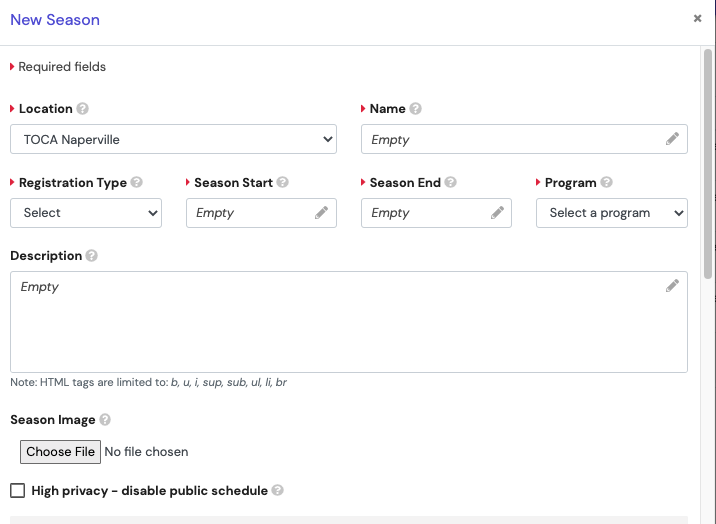
- Fill out the required fields with the appropriate information.
- Location: Choose appropriate location
- Name: Follow this format (Camp - Season - Year). ie. (Kids Camp - Summer - 2023).
- Registration Type: Camps
- Season Start and End: Appropriate dates
- Program: Choose the appropriate dropdown for the type of camp desired
- Time of Year: Choose the appropriate dropdown
- Description: Only add if necessary
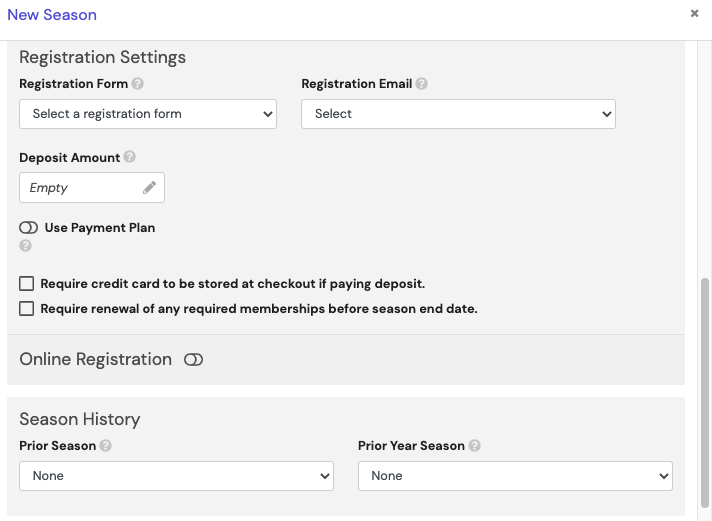
- Registration Settings: If form is necessary, choose form
- Deposit Amount: Populate with desired amount
- ☑️ "Require credit card to be stored at checkout if paying deposit".
- Online Registration: Toggle to the ON side (Purple showing) when ready for the season to be live.
- Add appropriate dates for Signup Start and Signup End.
- Add a Priority Group if necessary. Adding a Priority Group permits setting registration priority based on Season or Membership. A customer that satisfies any one of the settings will be provided priority registration.
- Season History:
- Prior Season: If this season is apart of a yearly series, select the preceding season.
- Prior Year Season: If this program occurred the year before, select the season from the previous year.
- Select
 once all the information is entered correctly.
Creating a Camp Level
- Once the Season has been created, now it is time to create a level for the camp.
- To create a new Level, select the + in the top-left corner.
- Fill out the required fields with the appropriate information.
- Location: Choose appropriate location
- Name: Follow this format (Type of Camp Age). ie. (Kids Multi-Sport Camps 4-13 Years Old).
- Number of camps: Set this to the number of days that camp will be running.
- Start Date: Set the appropriate start date of the camp.
- Classification: Set default classifications based on sport, sex, age group, and skill level.
- Sport: Choose type of sport and location (indoor/outdoor) if necessary
- Sex: Choose appropriate gender for each camp
- Age Group: Select based on dropdown (Youth)
- Skill Level: Select based on camp
- Program: Choose the appropriate dropdown for the type of camp desired
- Prerequisite Level: Leave as is
- Level Image: Fill or leave empty, as desired
- Fee: Type the appropriate product and select
- Payment Plan: Use season payment plan
- Registration Form: Use season registration form
- Registration Email: Leave as is
- Roster Lock Date: Empty, unless necessary
- Online Description: Complete if necessary
- Customer Registers For: Selected events
- Keep toggle OFF Disable all online registration, unless necessary.
- Toggle ON Require full online payment.
- Age Restrictions: Select the appropriate age range if required for camps (specific age ranges)


- Select
 once all fields are filled out, to create new level (league.
- Repeat this process for all levels/camps necessary for each season.
Creating a Camp
- Now that the season and levels have been created, it is time to create the camp.
- To create a Camp, select the + in the top-left corner.

- Fill in the appropriate fields.
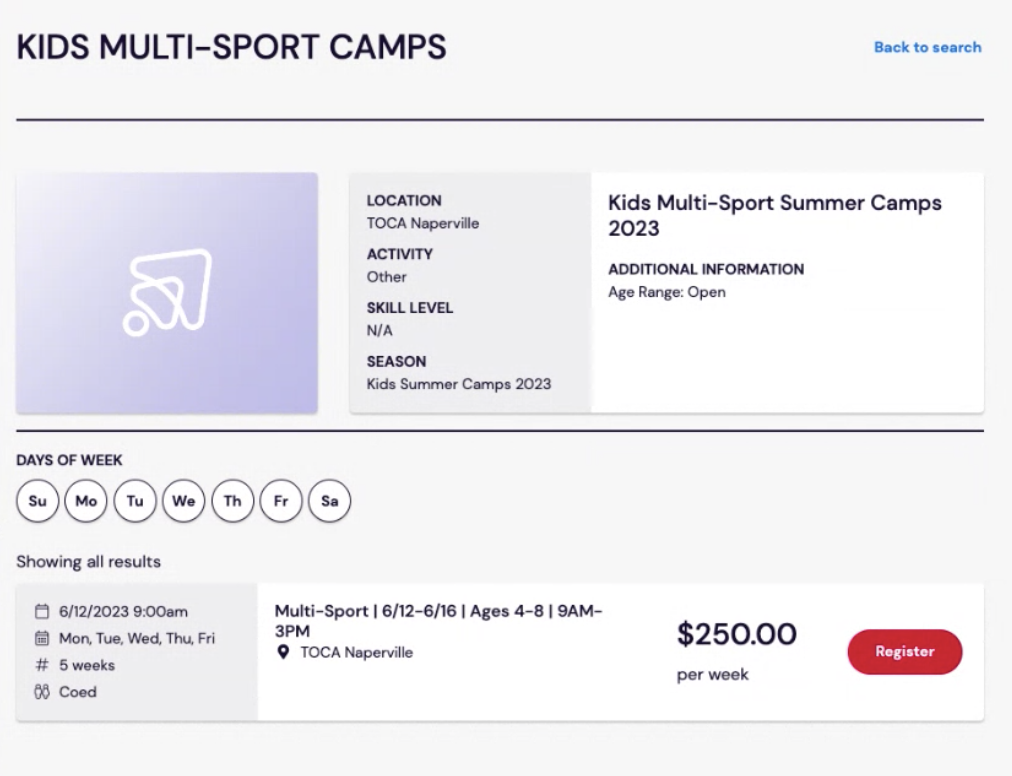
- Name: Use the following naming convention: Type of camp | Date range | Ages | Time of camp (Ex. Multi-Sport | 6/12-6/16 | Ages 4-8 | 9AM-3PM)
- Individual Fee: Auto-fill to fee associated with season/level
- Location: Auto-fill to appropriate location
- Responsible Employee: Fill with employee name, ONLY IF employee wants to be notified of registrations
- Season: Auto-fill to associated season
- Billing Type: Preset to per-session
- Level: Auto-fill to associated level
- Registration Type: Preset to Camps
- Start Date: Preset to Start Date chosen in Level
- Sport: Select appropriate dropdown
- Gender: Select appropriate dropdown
- Age Group: Select appropriate dropdown
- Skill Level: N/A, or select if applicable
- Sessions: Will populate to number of camps selected on the Level. - This number is IMPORTANT as customers are charged per session for camp, so be sure this number reflects the amount of DAYS camp is occurring.
- Length (Mins): Leave as is
- Min & Max Roster: Include if necessary
- Days of Week: Select each applicable day of camp
- Registration Form: Select applicable form as necessary
- Roster Visible Online: None unless necessary
- Group Image: Upload if desired
- Program Description: Add if necessary
- Options:
- Private: If camp is private, TOGGLE ON.
- Online Registration: TOGGLE ON
- Online Messaging: If customers desire to message within the platform, TOGGLE ON.
- Waitlist: If desire to have a waitlist for camp, TOGGLE ON.
- Required # of Registration Events: Add if necessary

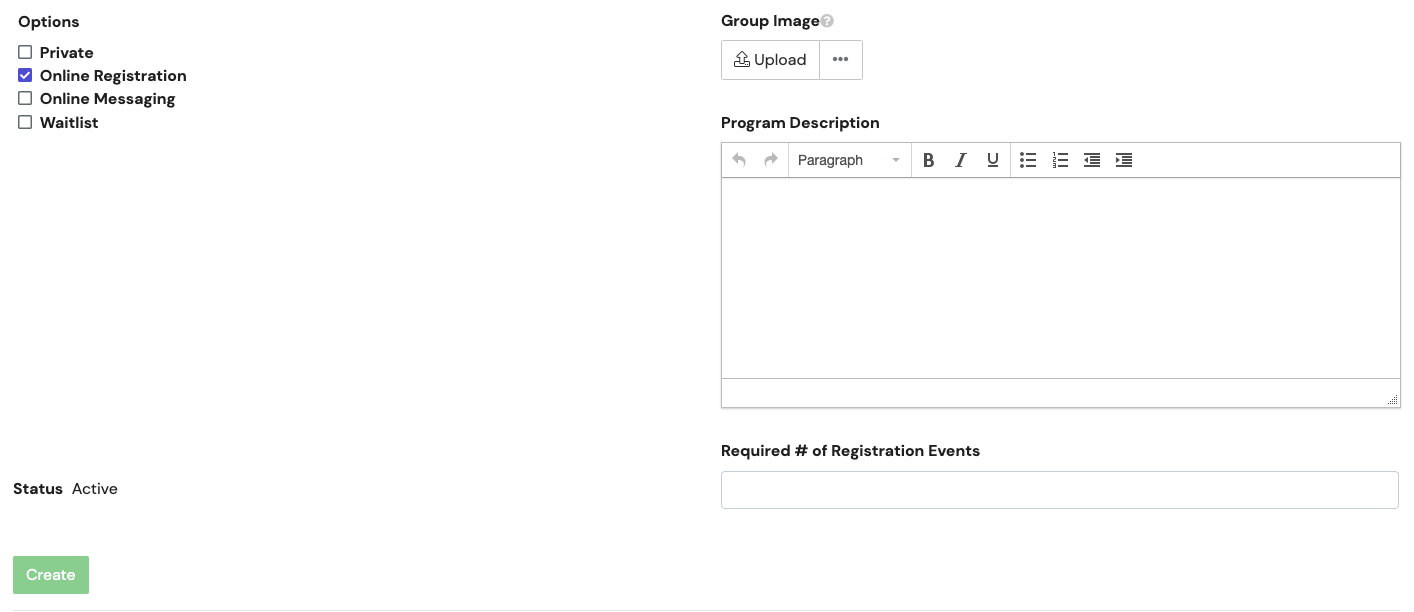
- Select Create once all fields are filled out.
- View the screenshot below for a customer's view of the camp registration.
Scheduling a Camp
Once the seasons, levels, and camps have been created now it is time to schedule a camp. There are two different ways to schedule camps; a) Class & Camp Scheduler & b) Calendar View.
Scheduling a Camp Using the Class & Camp Scheduler
With the scheduler tool, you can create an entire season's schedule on one screen.
Start typing "class and camp scheduler" in the global search box or press the Programs button and select Tools. On the left-hand side there is a Programs section where you will see the Class & Camp Scheduler.

- Be sure to set any Blackout Dates first by selecting Manage Blackout Dates (Ex. holiday)

- Select the appropriate season, then appropriate level, then select resource.
- It is possible to schedule multiple camps at the same time since all of the camps will appear once you select a season and then filter by a specific level.
- Each camp will appear and a suggested series of camps will display according to the start date that is set at the season or level.
- Choose a resource and ensure the start date and time are correct.

- If adjustments on a specific day need to be made, click on the calendar and change the date to the desired choice.
- Once you have made your necessary changes put a check box next to the camp name and hit the "Save Checked" button.
Scheduling a Camp Using the Calendar View
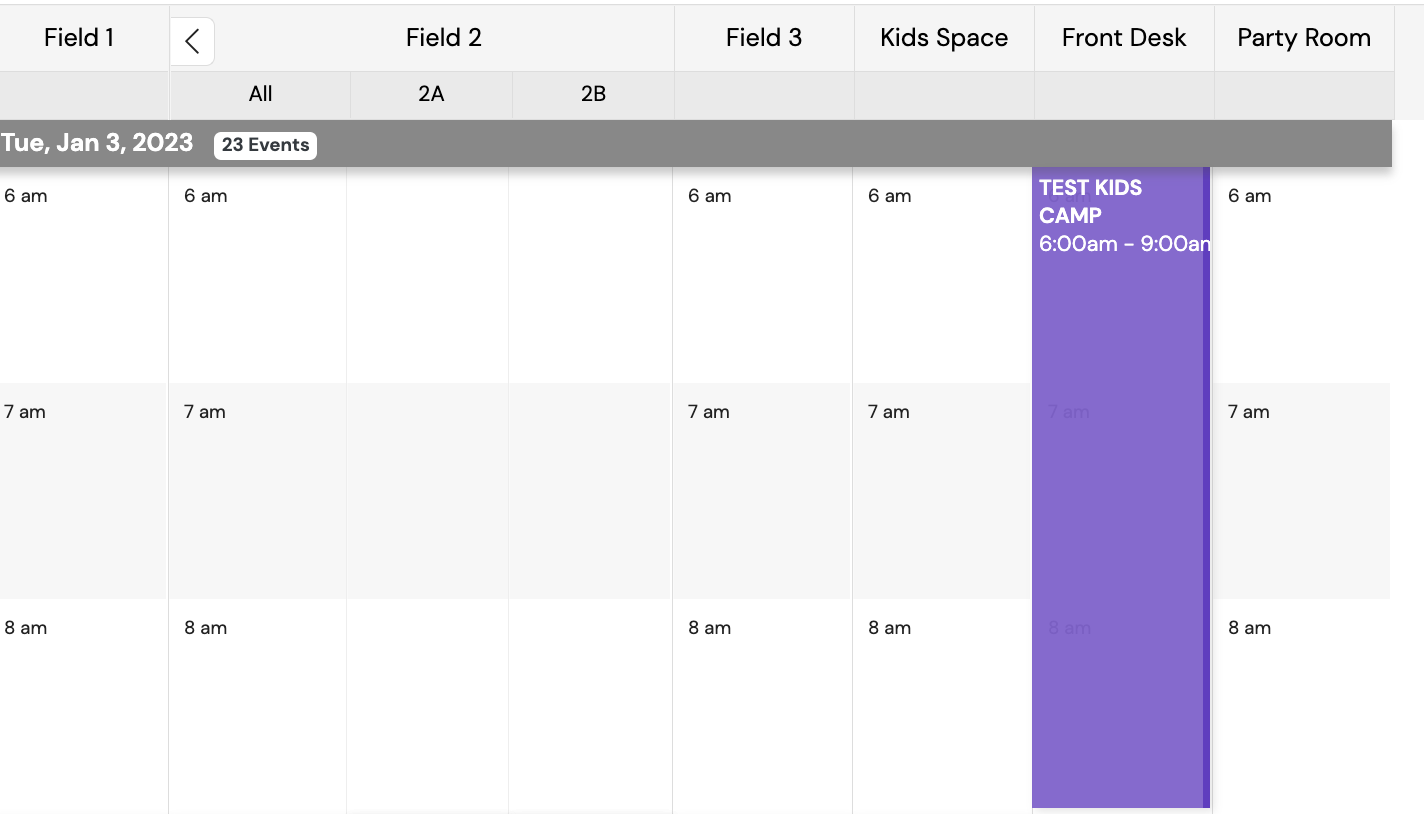
- Select Calendar to view the facility calendar.
- On the top of the calendar there will be all the resources assigned to the location.

- Select the desired start date for camp and the appropriate resource (which field/room/location) the camp will be. Then click on the empty space on the calendar and select Camp.

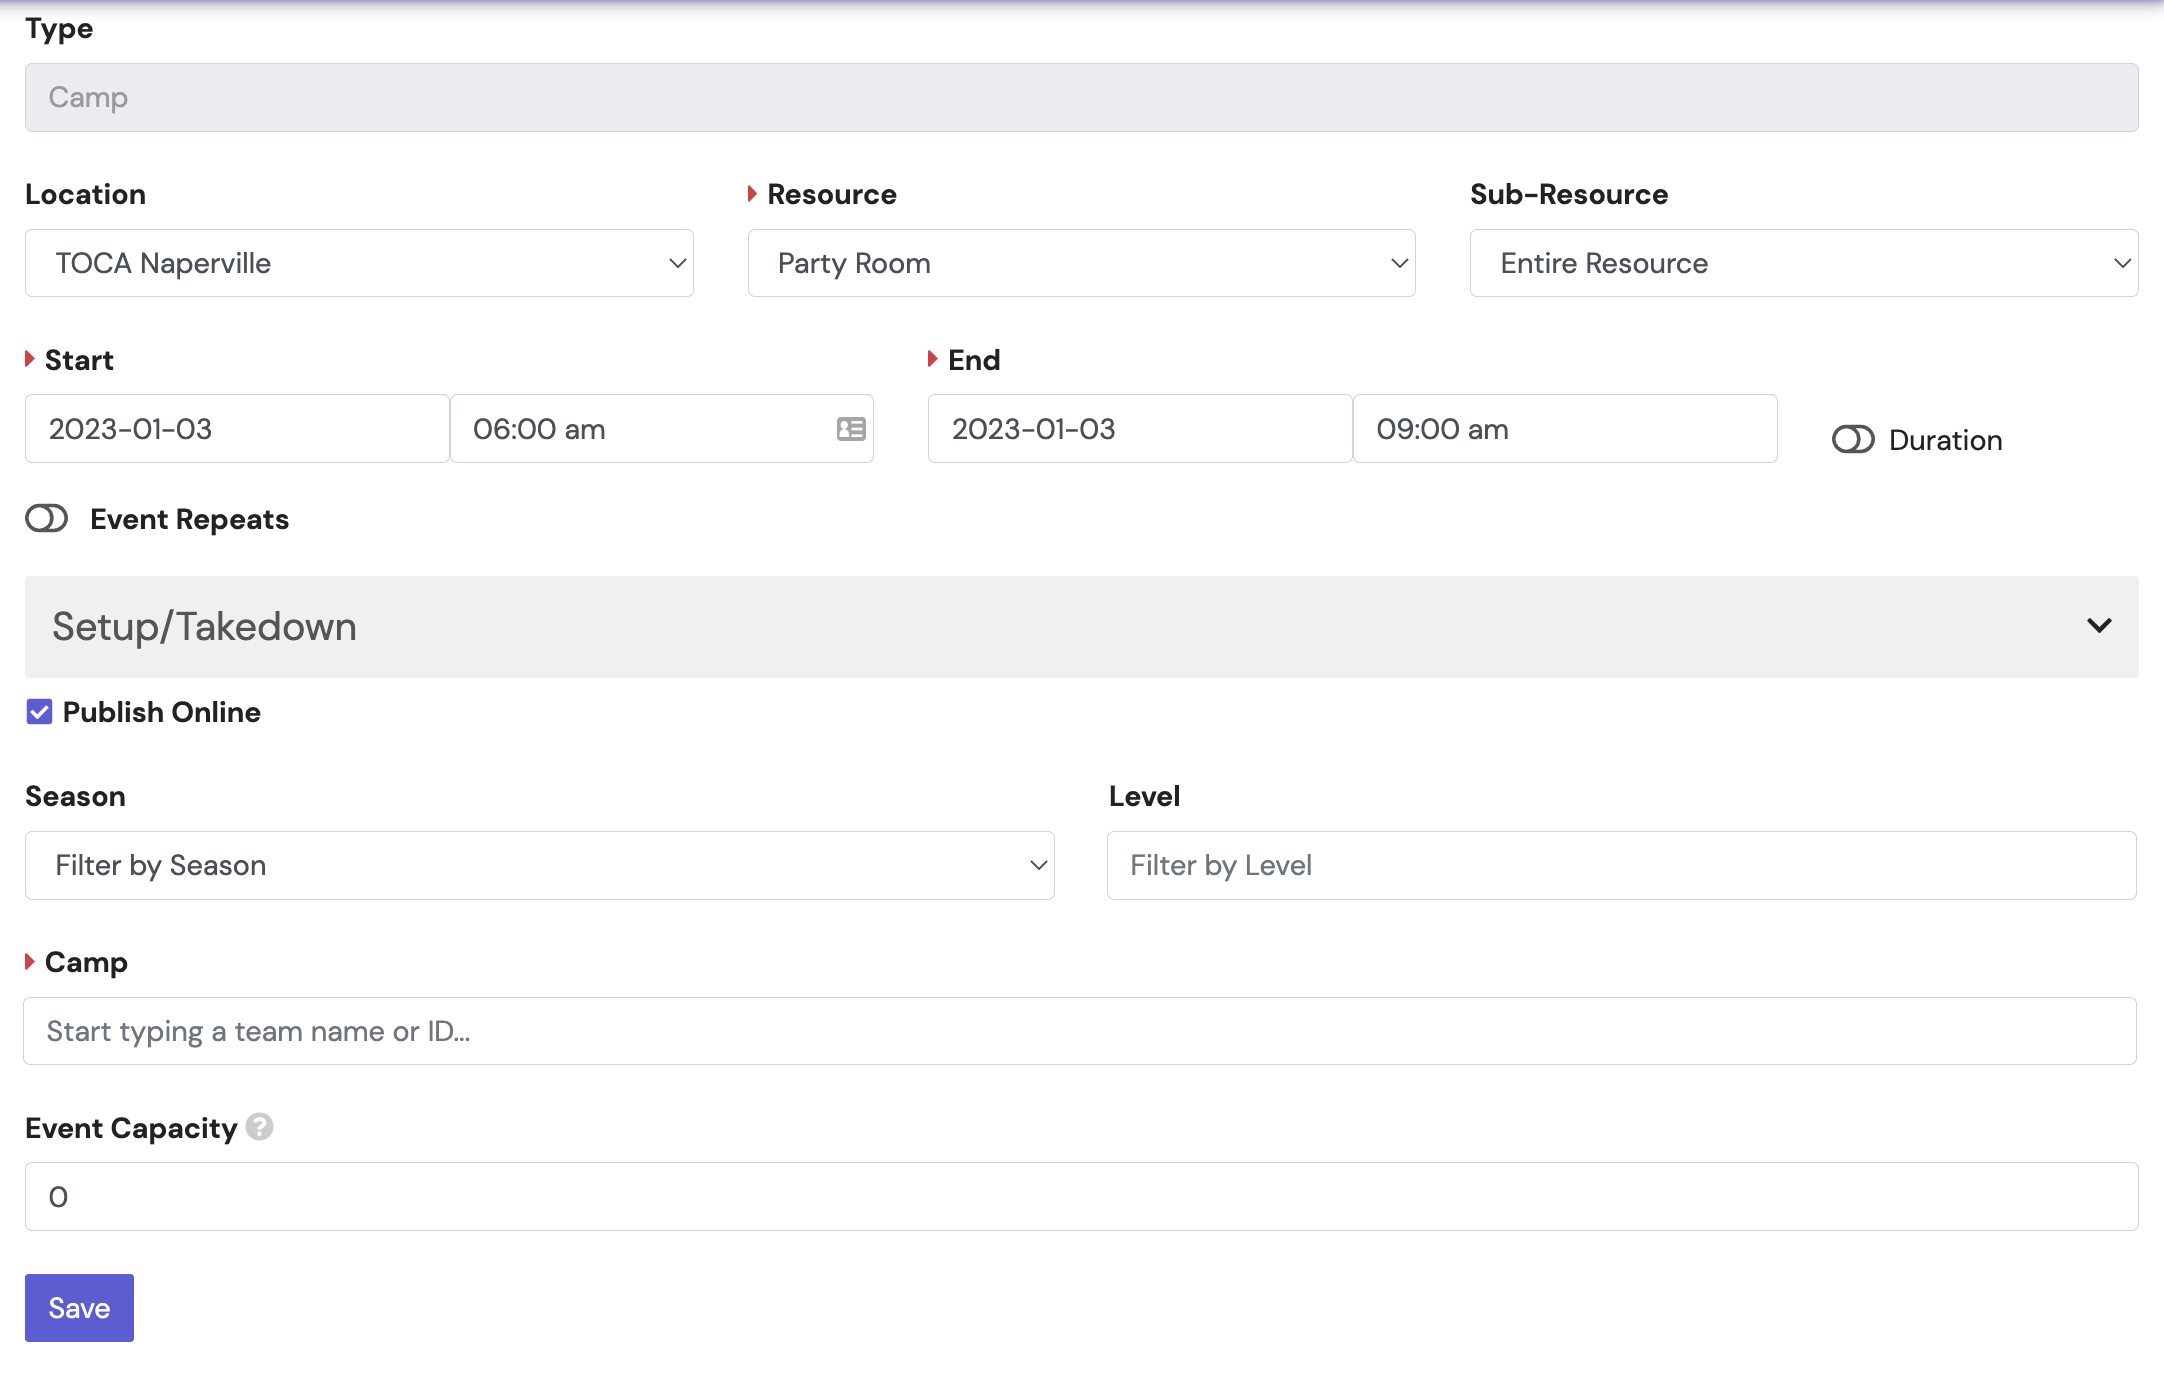
- Fill in the appropriate fields.
- Location: Autofill with location of center
- Resource: Autofill with resource selected from calendar view, if need to adjust choose from the dropdown.
- Sub-Resource: Add if necessary.
- Start: Be sure the date and time is accurate to the camp.
- End: Be sure the date and time is accurate to the camp.
- Duration: TOGGLE ON and this will eliminate the End category and allow to put hours and minutes instead.

- IF the event repeats, TOGGLE ON Event Repeats and set to the appropriate instances.

For example, if a camp is Monday, Wednesday, Friday for 2 weeks this would be the setting. Select Next when completed this portion.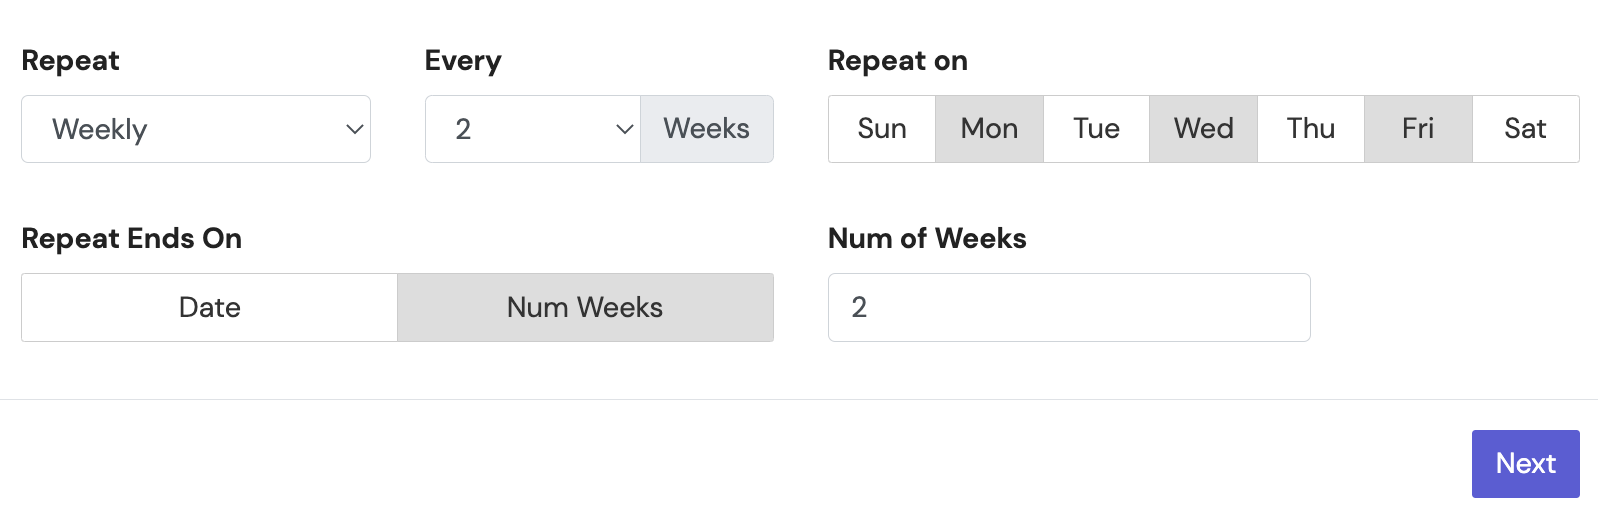
Once next has been selected another pop-up screen will show and it will give each camp date with the respective times. If edits need to be made, select the to duplicate or delete.
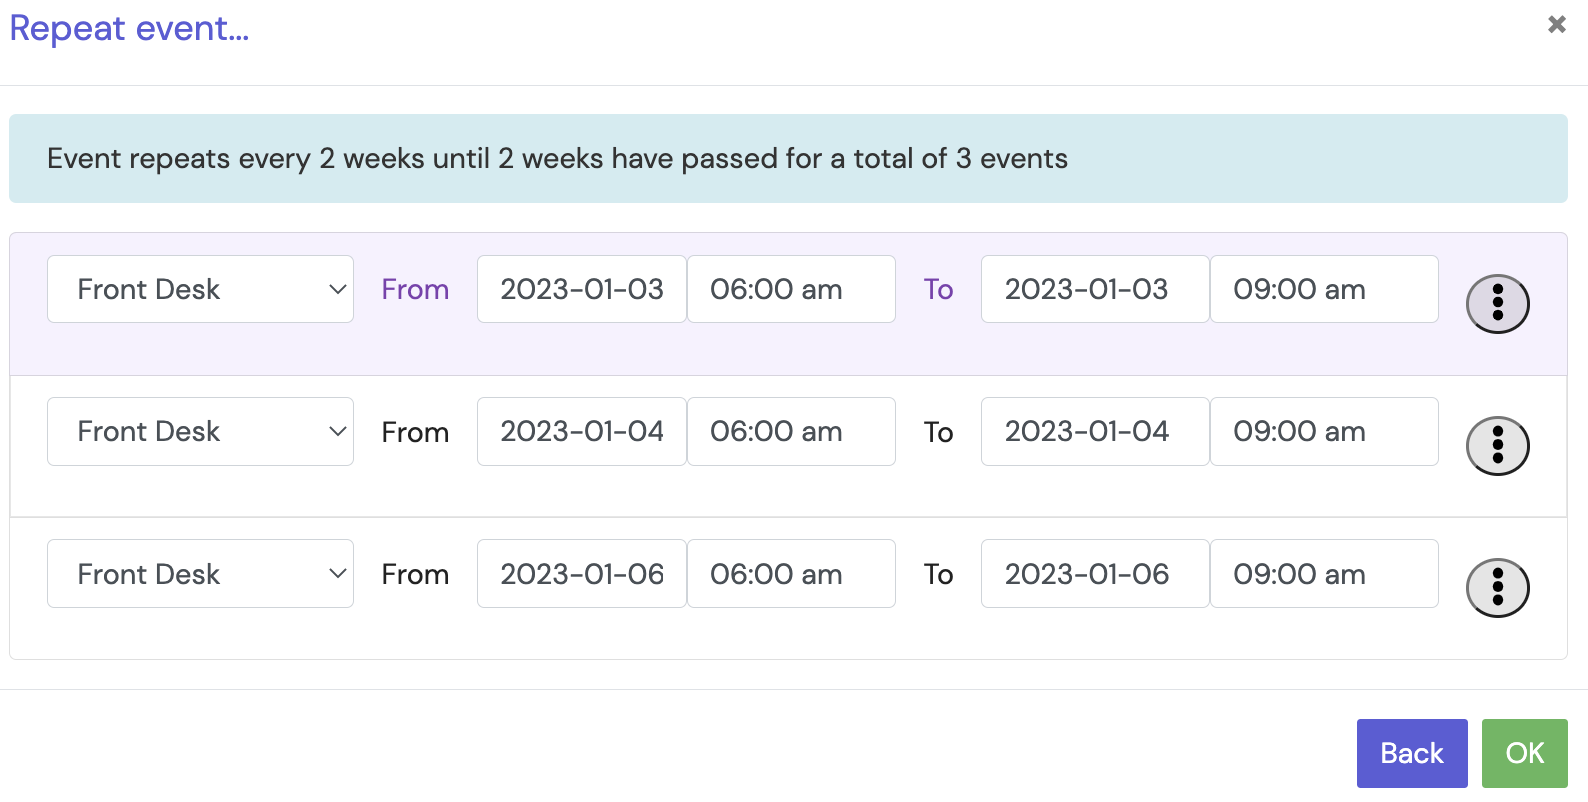
- TOGGLE ON Publish Online when the camp is confirmed to post to the calendar.
- Season: Select the appropriate Season for the camp.
- Level: Select the appropriate Level for the camp.
- Camp: Select the appropriate Camp name for the event.
- Event Capacity: Enter the appropriate capacity if necessary.
- Select Save when information has been entered correctly.
- The camp will then appear on the calendar.